
⚠️ Only admin Company Owner role can set up the connection, and they must also have the required Salesforce permissions to install the PitchMonster app.
1. Go to the Integrations Page
-
Log in to PitchMonster.
-
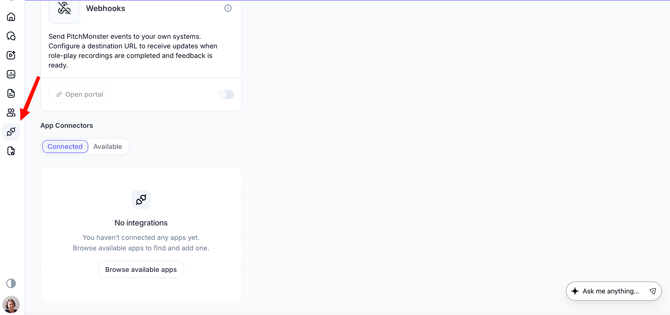
Open the Integrations section from the left-side menu.
-
You will see two areas:
-
Connected
-
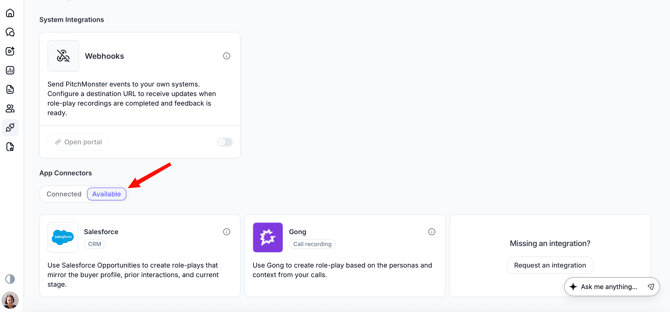
Available (all available integrations)
-
2. Select Salesforce
-
Select Salesforce in the Apps list.
-
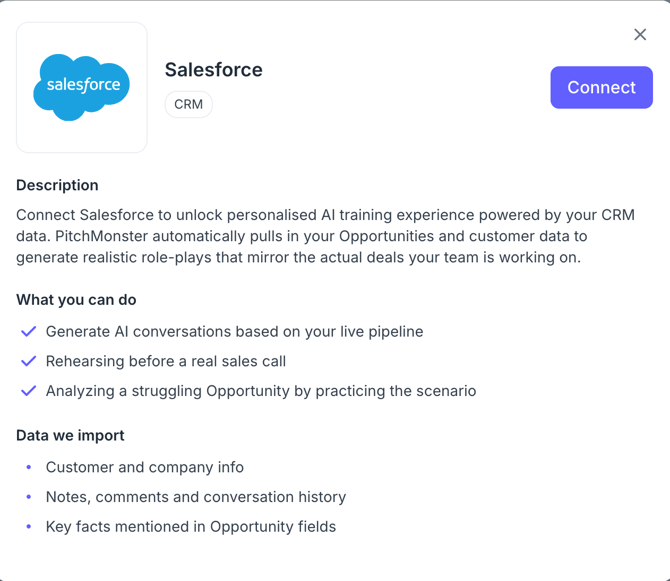
Click Connect.
3. Choose Your Salesforce Environment
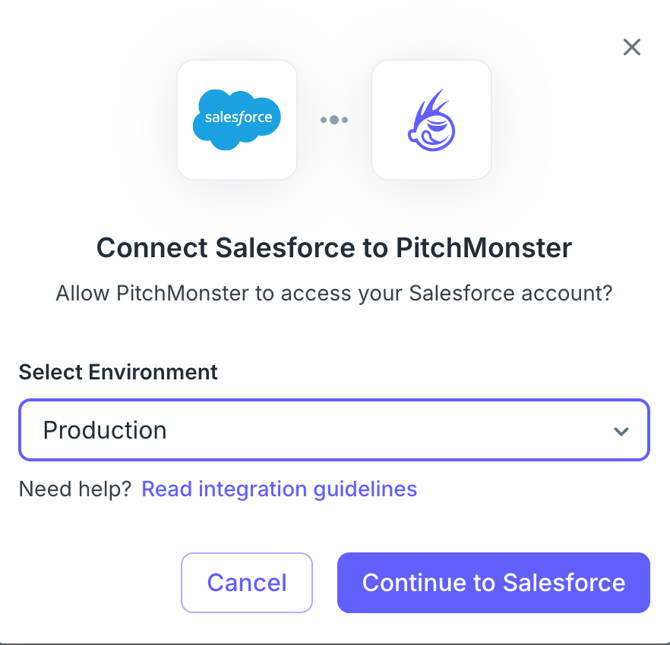
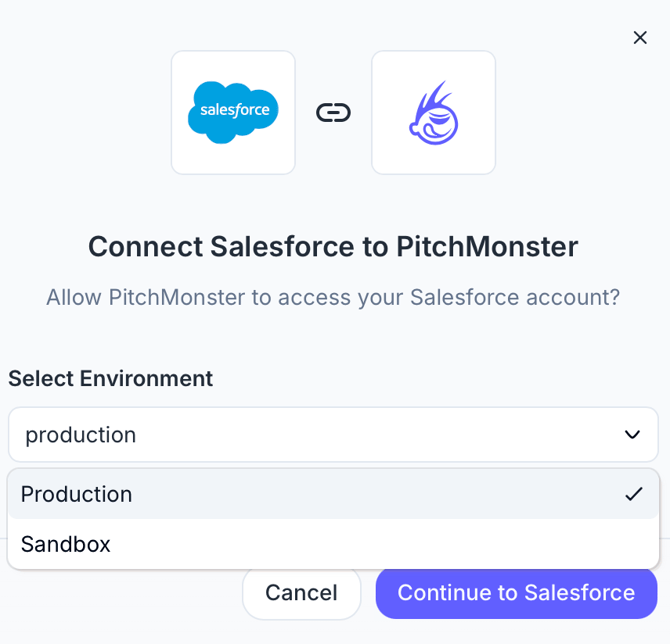
You will be prompted to select one of the two connection types:
Production - your live CRM environment. Most teams should choose this option because it uses real Opportunity and contact data.
Sandbox - a testing environment used for training or QA.
Choose this if you want to test the connection without touching real production data.
4. Log in through Salesforce
After choosing your environment:
-
Click Continue to Salesforce.
-
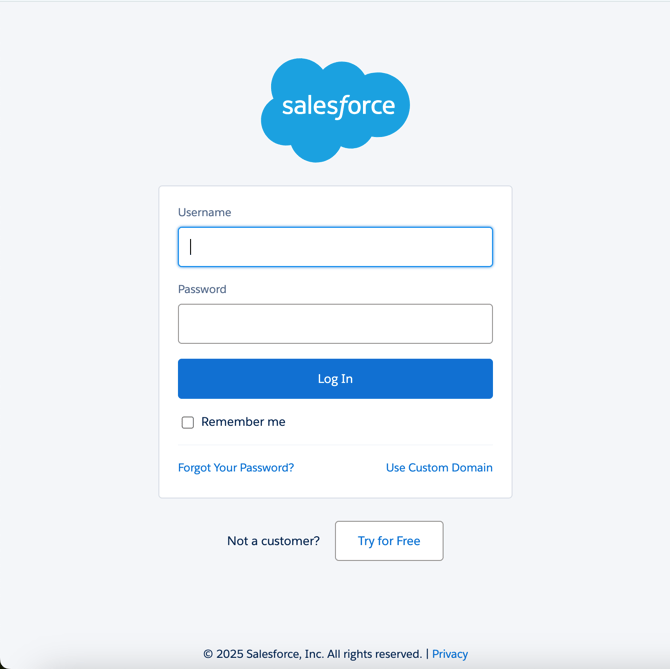
You’ll be redirected to the Salesforce login page.
-
Log in with your Salesforce credentials.
Important note: The person logging in must have permissions to install and authorize third-party applications in Salesforce. If a user without permissions tries to connect, Salesforce may block the authorization.
5. Complete the Authorization
Once Salesforce approves the connection:
-
You will be automatically redirected back to PitchMonster.
-
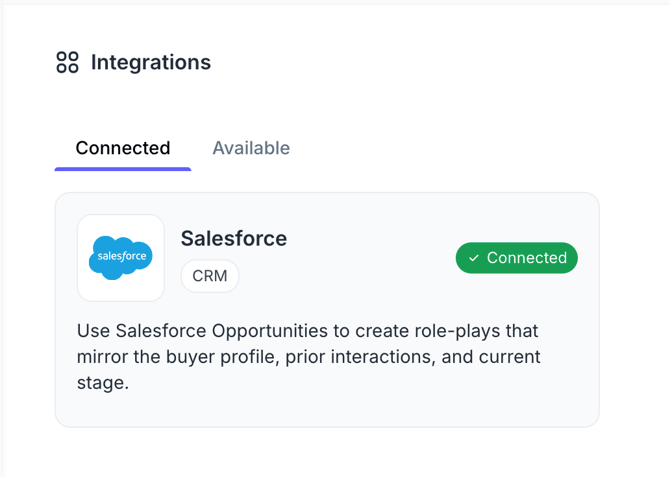
Your Salesforce status will now show Connected in the Integrations section.
6. Configure entities and fields
Defining Root Entities and Fields
Once connected, you can define the "Root Entity" that serves as the foundation for your role-plays. This is typically the primary object your sales team works with, such as an Opportunity.
1. Click on Edit permissions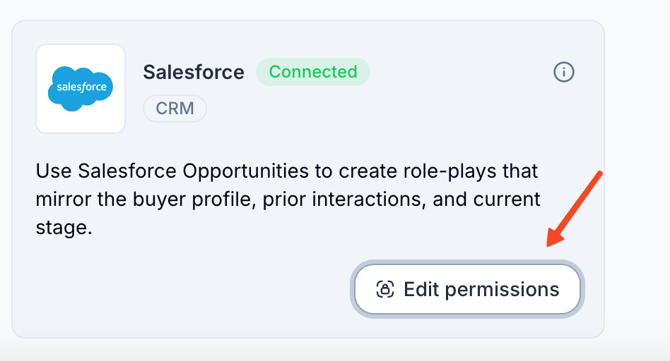
2. Select your Root Entity (e.g., Opportunity).
3. PitchMonster will automatically fetch all available fields within that entity.
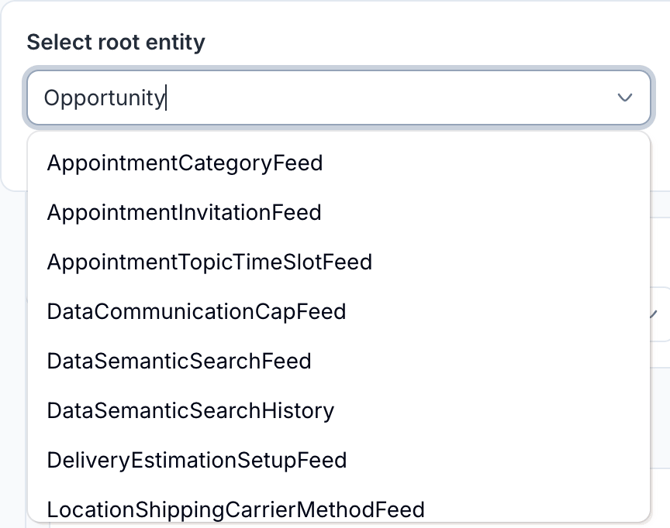
4. Select the specific fields you wish to pull, such as:
Stage: To define where the buyer is in the journey.
Amount: To provide context on the deal size.
Next Step: To give the AI a clear objective for the roleplay.
Adding related entities
To create even more realistic scenarios, you can pull information from related Salesforce objects. This allows you to include specific contact details or unique custom fields in the role-play.
Add related entities: for example, you can link Opportunity Contact Roles to pull the first and last names of specific prospects.
Nested Data: You can drill down further (e.g., Opportunity > Contact Role > Contact) to access unique fields specific to your organization.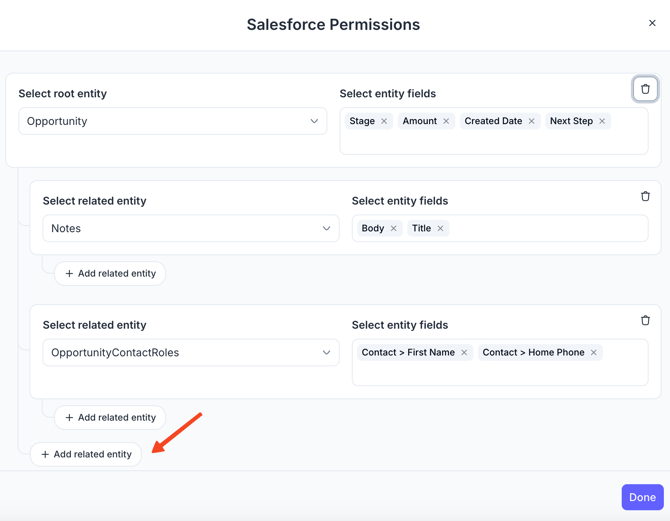
7. Security and Compliance
Your data security is a priority. PitchMonster only pulls the specific information you have explicitly selected and authorized.
- Granular Permissions: You only share the info you are comfortable with from a security and compliance standpoint.
- No Unauthorized Access: If a field is not selected in the mapping configuration, PitchMonster cannot see or use that data.
8. Managing the Connection
If needed, you can disconnect Salesforce at any time:
-
Go to Integrations.
-
Click on Salesforce, then click the three dots next to the Connected status and select Disconnect.
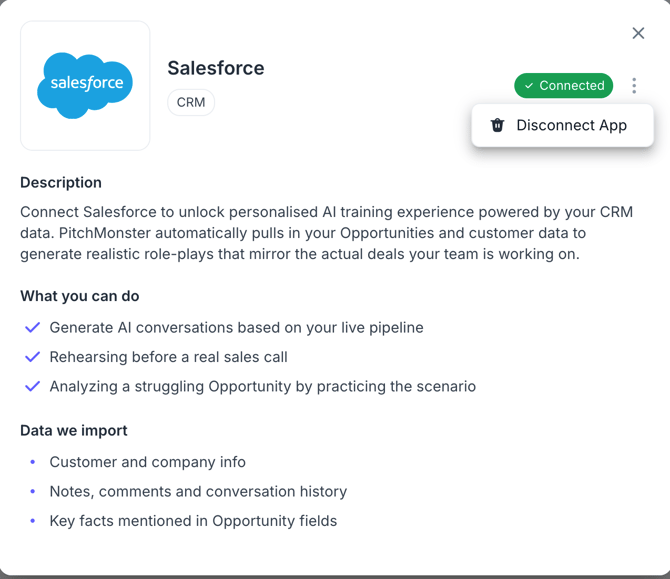
Disconnecting will stop all Salesforce-related features until it’s reconnected.
If you want to generate role-plays using Salesforce, please refer to this article.